4 minutes
Running Distributed GNS3 in the Cloud
Overview
Ever since I purchased my Macbook Pro, wasn’t able to simulate GNS3 topologies without my machine overheating and causing me distress. To cope with this problem, just recently decided to run GNS3 server as a remote server with the front GUI app residing in my local machine. The idea of using someone elses hardware to do processor heavy-lifting seemed like a perfect pivot direction.
AWS
As a remote hosting server we will be using Amazon AWS EC2 instance. It is important to note that the client app and GNS3-server need to be same version, so if you did not already update your client, take a moment and do it now.
Let’s create a Linux running instance on top with Ubuntu Server Xenial (16.04). To do this go to aws services and select EC2. Inside EC2 management console, select Launch Instance and choose Community AMIs.
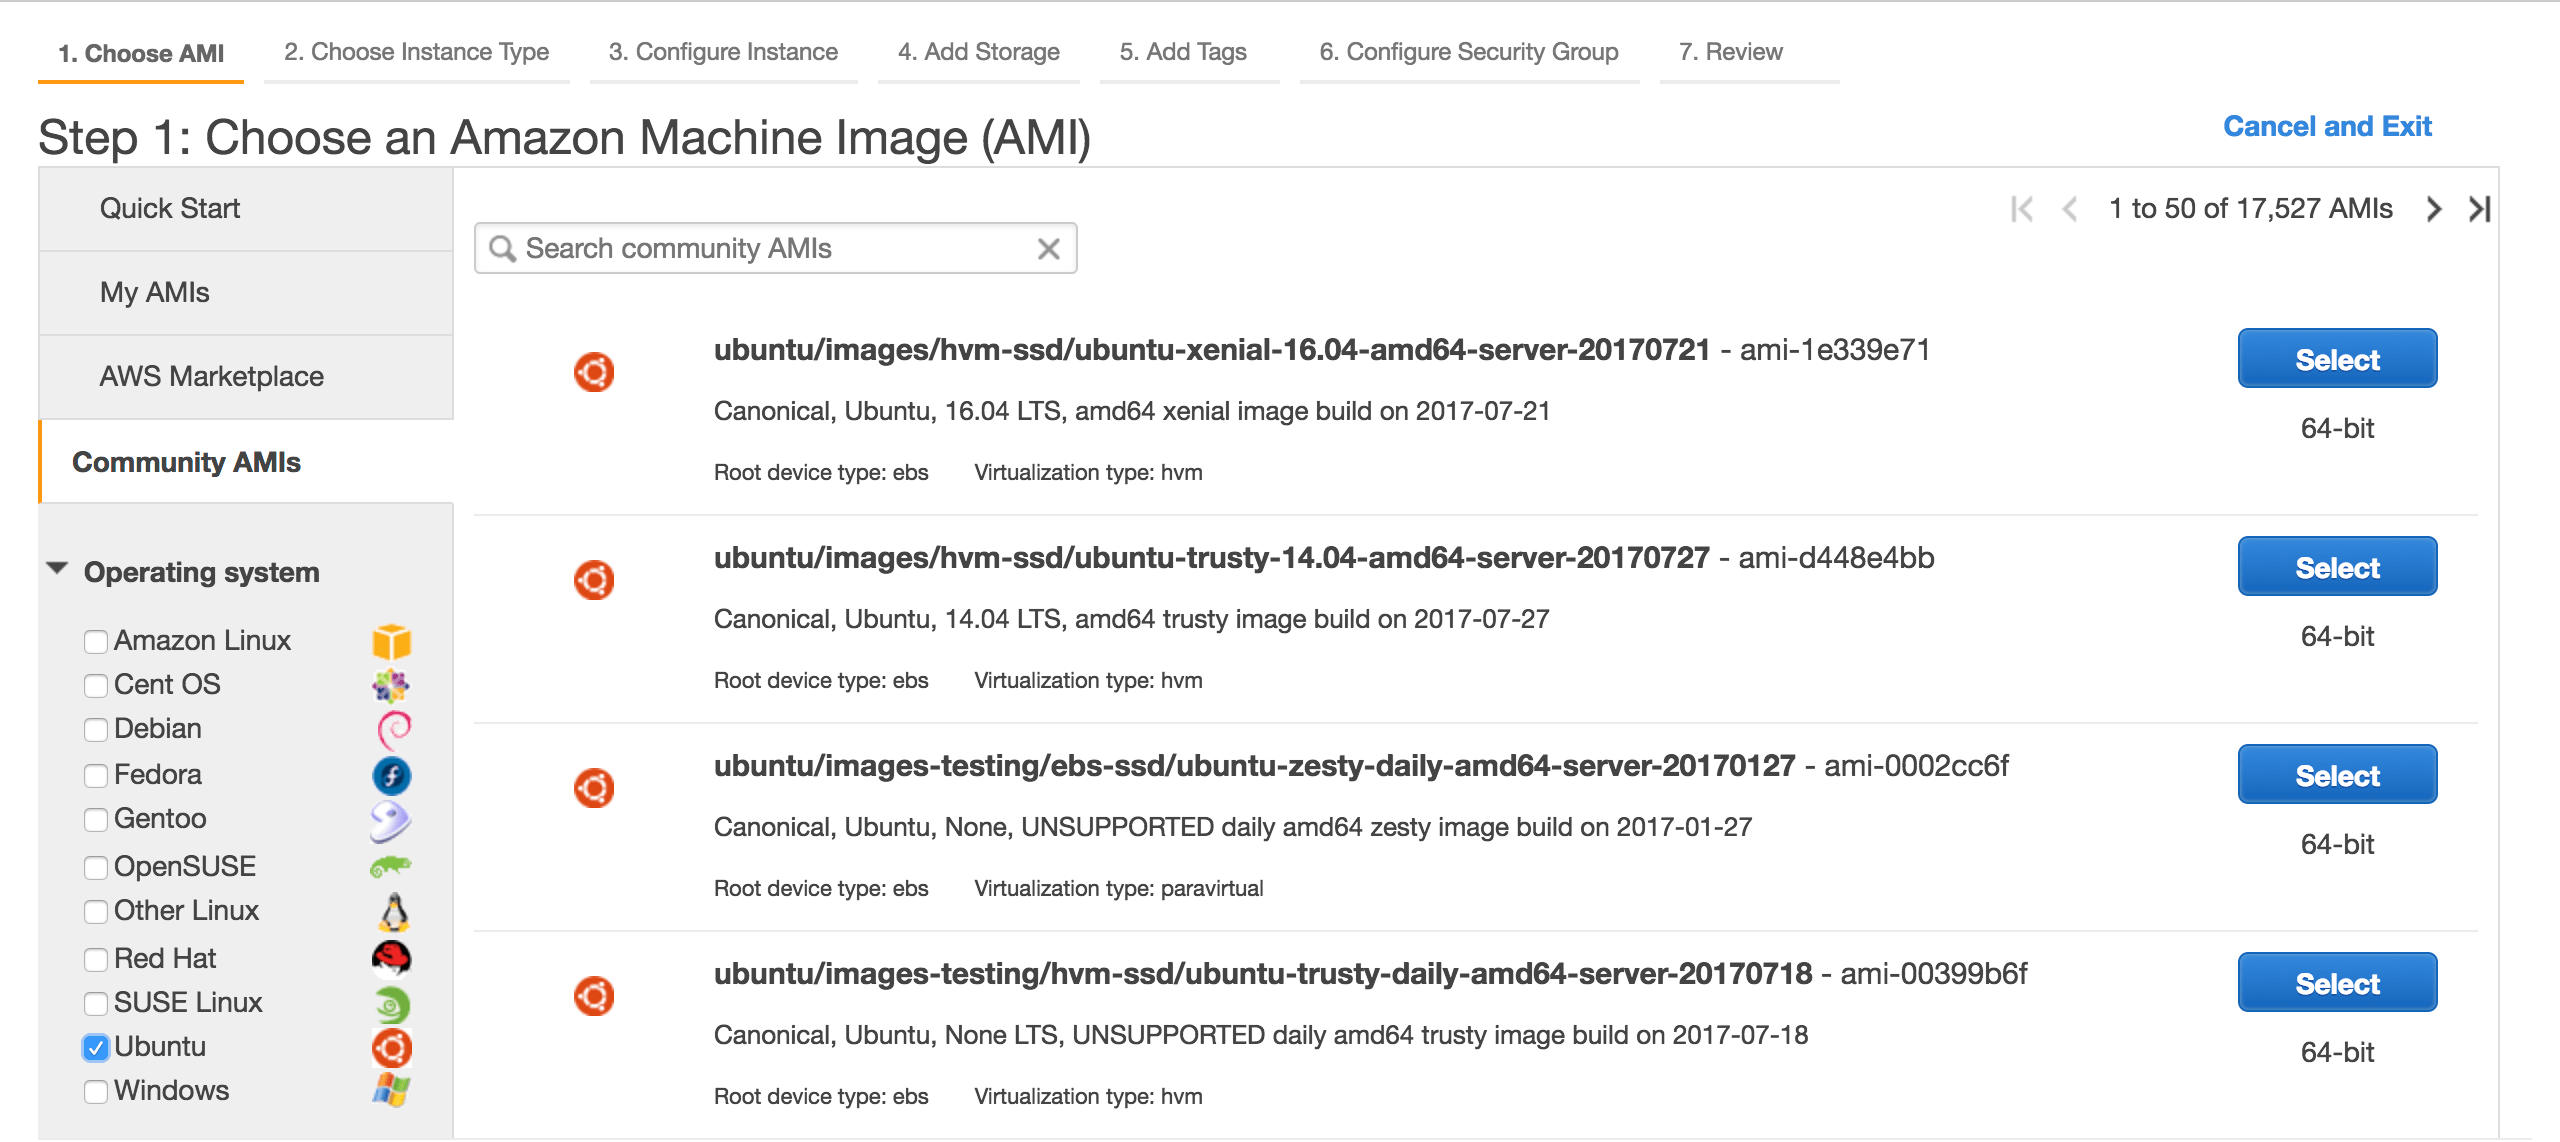
Community-AMIs
Here choose the first option that aws provides us with ubuntu-xenial-16.04-amd64-server.
Important: Different types of instances are offered in different locations. Thus, be aware to choose your nearest Amazon location in top-right corner, next to your name. Since I’m in Europe, my instance is in Frankfurt.
On the next step we can decide what type of hardware to run. You are free to select an instance-type based on your requirements and budget but in my case I chose to use m3.xlarge instance with following configuration.

m3.xlarge
Now, the deal with AWS EC2 usage and pricing predictions can vary from various factors. Again, the best thing is to do a research of your own and select what suits your ops the most.
Note: Check out this link for more info: EC2 Pricing
After clicking Launch next step is to “Create a new key pair” and save it for later use.
Our instance should be up and running by now. By creating an instance, we also have a “Security Group” which we have to modify to allow inbound traffic. To do this click on “Edit inbound rules” and change “Type” to “All traffic”. Click save and lets connect to our newly created machine.
ssh -i "GNS3.pem" ubuntu@ec2-18-195-20-101.eu-central-1.compute.amazonaws.comNote: Double-click on instance and connect option will provide you with exact link to establish an SSH connection.
GNS3 Linux installation
Now, lets install all dependecies and GNS3 server on our ubuntu-server. First visit GNS3 Releases and make sure to download Source code version of your client.
Following commands are for GNS3 server installation:
$ cd ~
$ wget https://github.com/GNS3/gns3-gui/releases/download/v2.0.3/GNS3-2.0.3.source.zip
$ unzip GNS3-2.0.3-source.zip
$ sudo apt-get update
$ export LANG="en_GB.UTF-8"
*GNS3 Python dependencies*
$ sudo apt‐get install python3‐setuptools
$ sudo apt-get install python3-dev
$ sudo apt‐get install python3‐pyqt5
$ sudo apt‐get install python3‐ws4py
$ sudo apt‐get install python3‐netifaces
*Dynamips dependencies*
$ sudo apt-get install cmake
$ sudo apt‐get install libelf‐dev
$ sudo apt‐get install uuid‐dev
$ sudo apt‐get install libpcap‐dev
*Build and install Dynamips*
$ unzip dynamips-0.2.16.zip
$ cd dynamips-0.2.16
$ mkdir build
$ cd build
$ cmake ..
$ make
$ sudo make install
$ sudo setcap cap_net_admin,cap_net_raw=ep /usr/local/bin/dynamips
$ cd ../..
*Install GNS3 Server*
$ unzip gns3-server-2.0.3.zip
$ cd gns3-server-2.0.3
$ sudo python3 setup.py install
$ cd ..
*Install GNS3 GUI*
$ unzip gns3-gui-2.0.3.zip
$ cd gns3-gui-2.0.3/
$ sudo python3 setup.py install
$ cd ..
*Install IOUYAP app*
$ sudo dpkg --add-architecture i386
$ sudo apt-get update
$ sudo apt-get install git bison flex
$ git clone http://github.com/ndevilla/iniparser.git
$ cd iniparser
$ make
$ sudo cp libiniparser.* /usr/lib/
$ sudo cp src/iniparser.h /usr/local/include
$ sudo cp src/dictionary.h /usr/local/include
$ cd ..
$ git clone https://github.com/GNS3/iouyap.git
$ cd iouyap
$ make
$ sudo make install
$ cd ..
*Install VPCS*
unzip vpcs-0.6.1.zip
$ cd vpcs-0.6.1/src
$ ./mk.sh
$ sudo cp vpcs /usr/local/bin/
$ cd ../..
*uBridge*
$ unzip ubridge-0.9.11.zip
$ cd ubridge-0.9.11/
$ make
$ sudo make install
$ cd ..
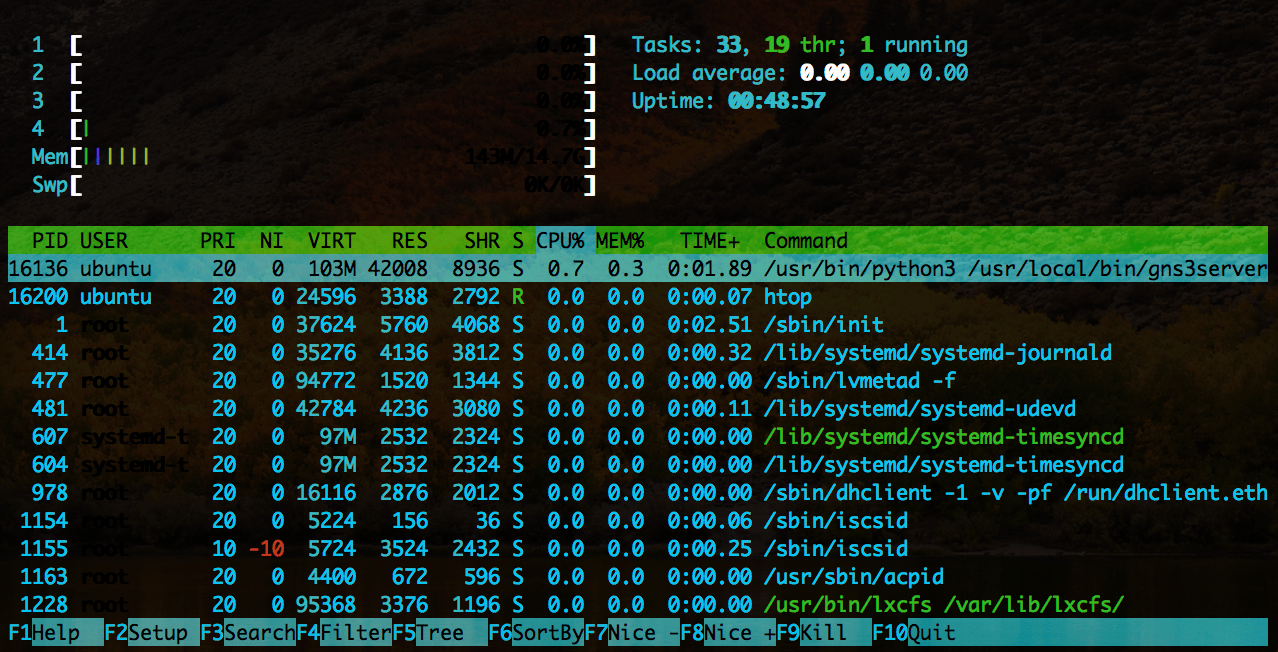
$ gns3server --version
$ gns3server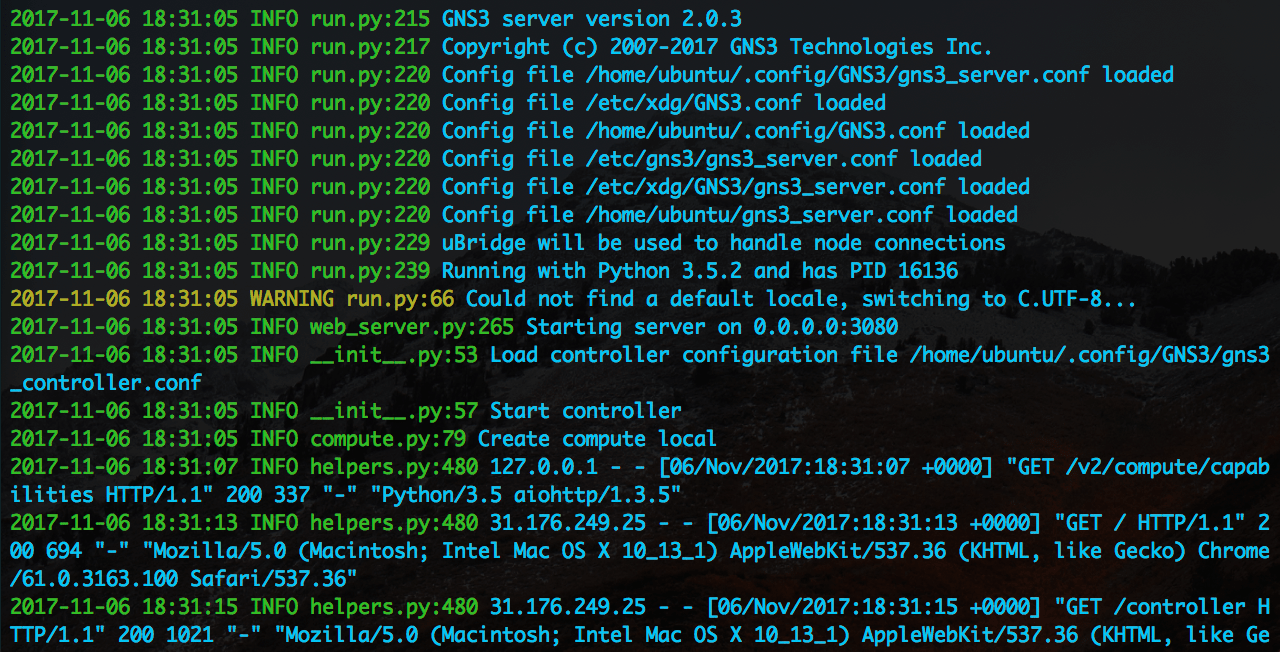
By now, we should be running GNS3-server as the image above shows. To be positive, open your browser and type in your instance’s IP and default port number 3080.
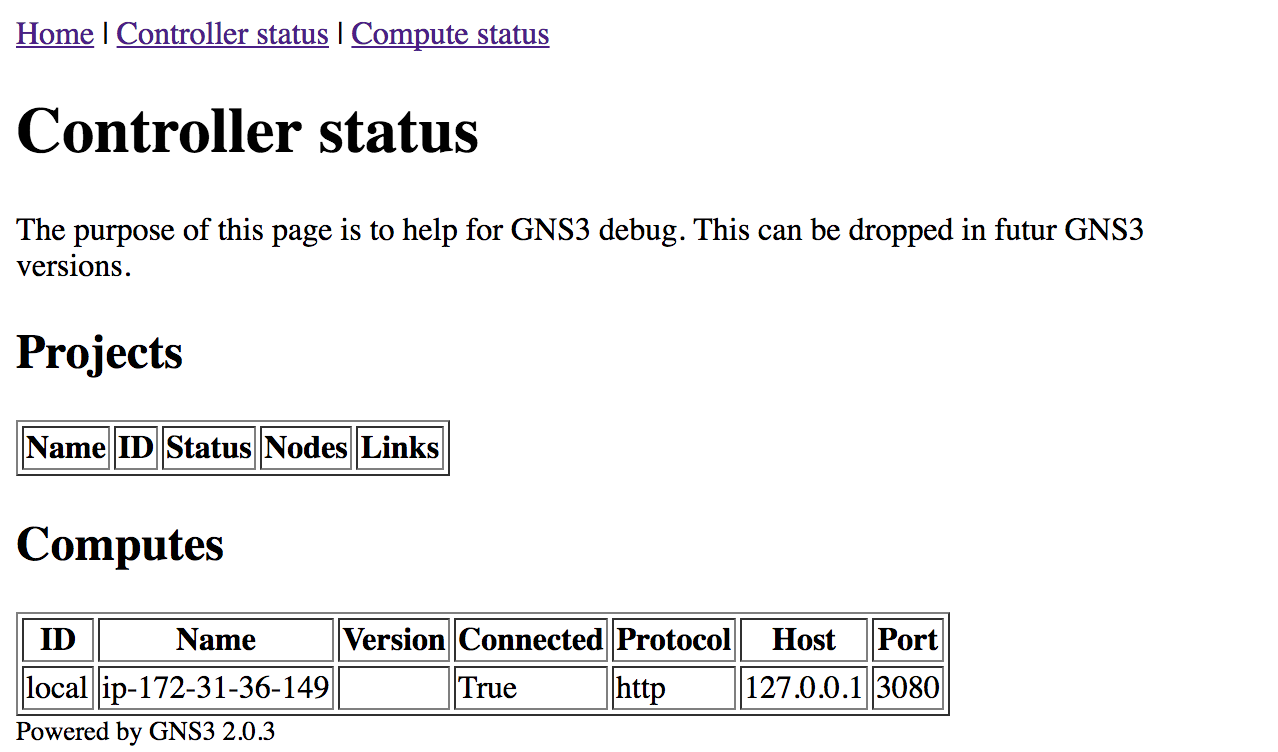
On the local machine open GNS3 GUI and click Preferences > Server > Remote servers > Add. For Name insert instance’s private IP (e.g. ip-172-31-36-149) and for Host insert instance’s public IP while Port stays at 3080 TCP.
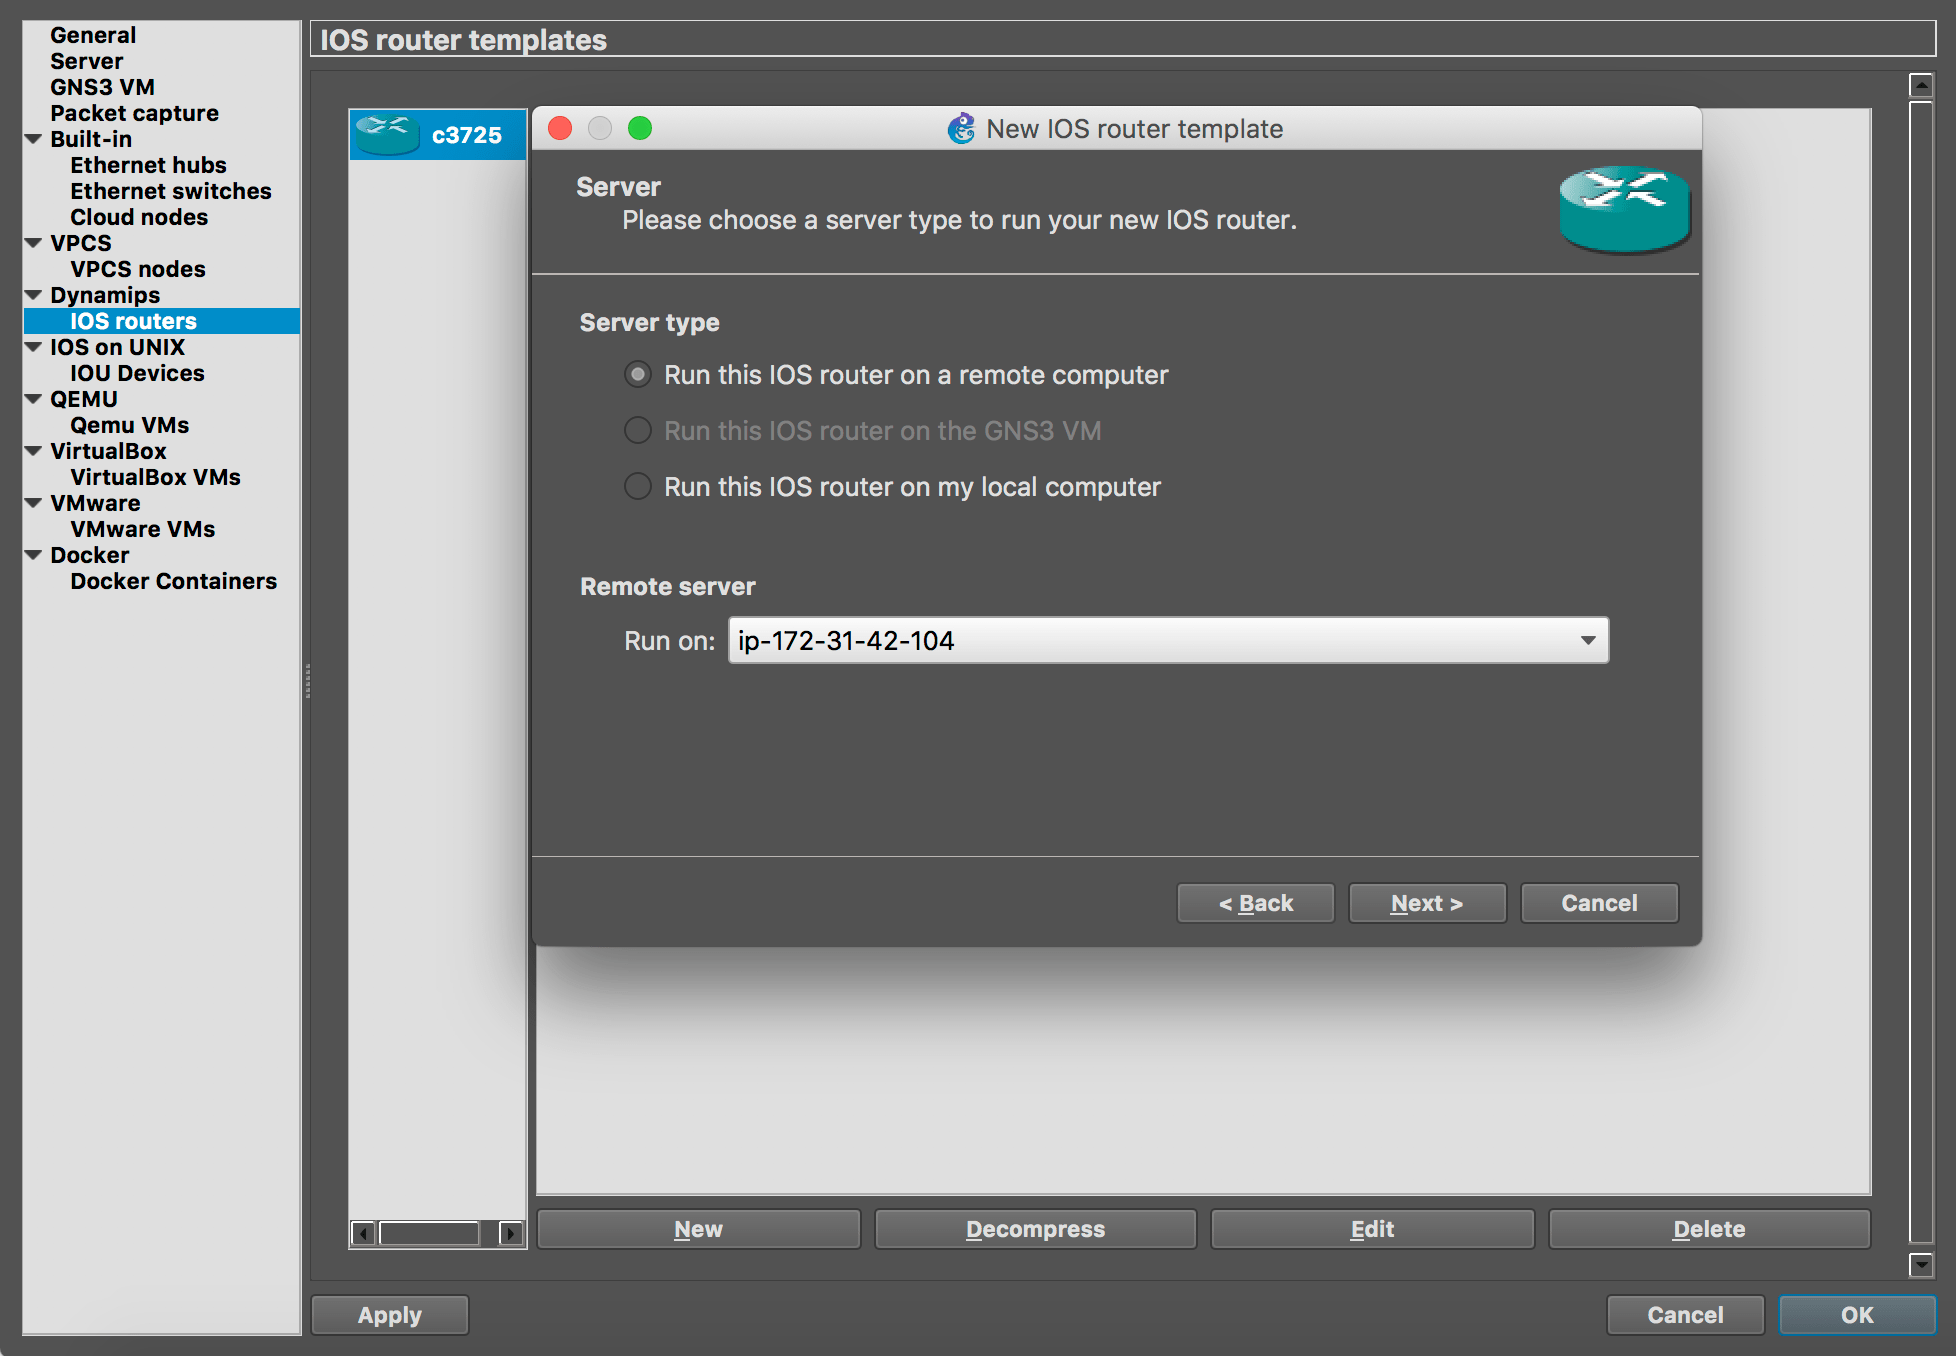
Next, go to Dynamips > IOS routers and create new Router. Select “Run this IOS router on a remote computer” and configure node to your liking.
Evaluation
At the moment, we just started our GNS3 server, therefore no excessive CPU usage takes place on our instance.
To test real benefits lets add some switches and turn them on. On the left side of image, we have created simple topology and we can observe in lower right section that immediately all 4 vCPU cores started working.
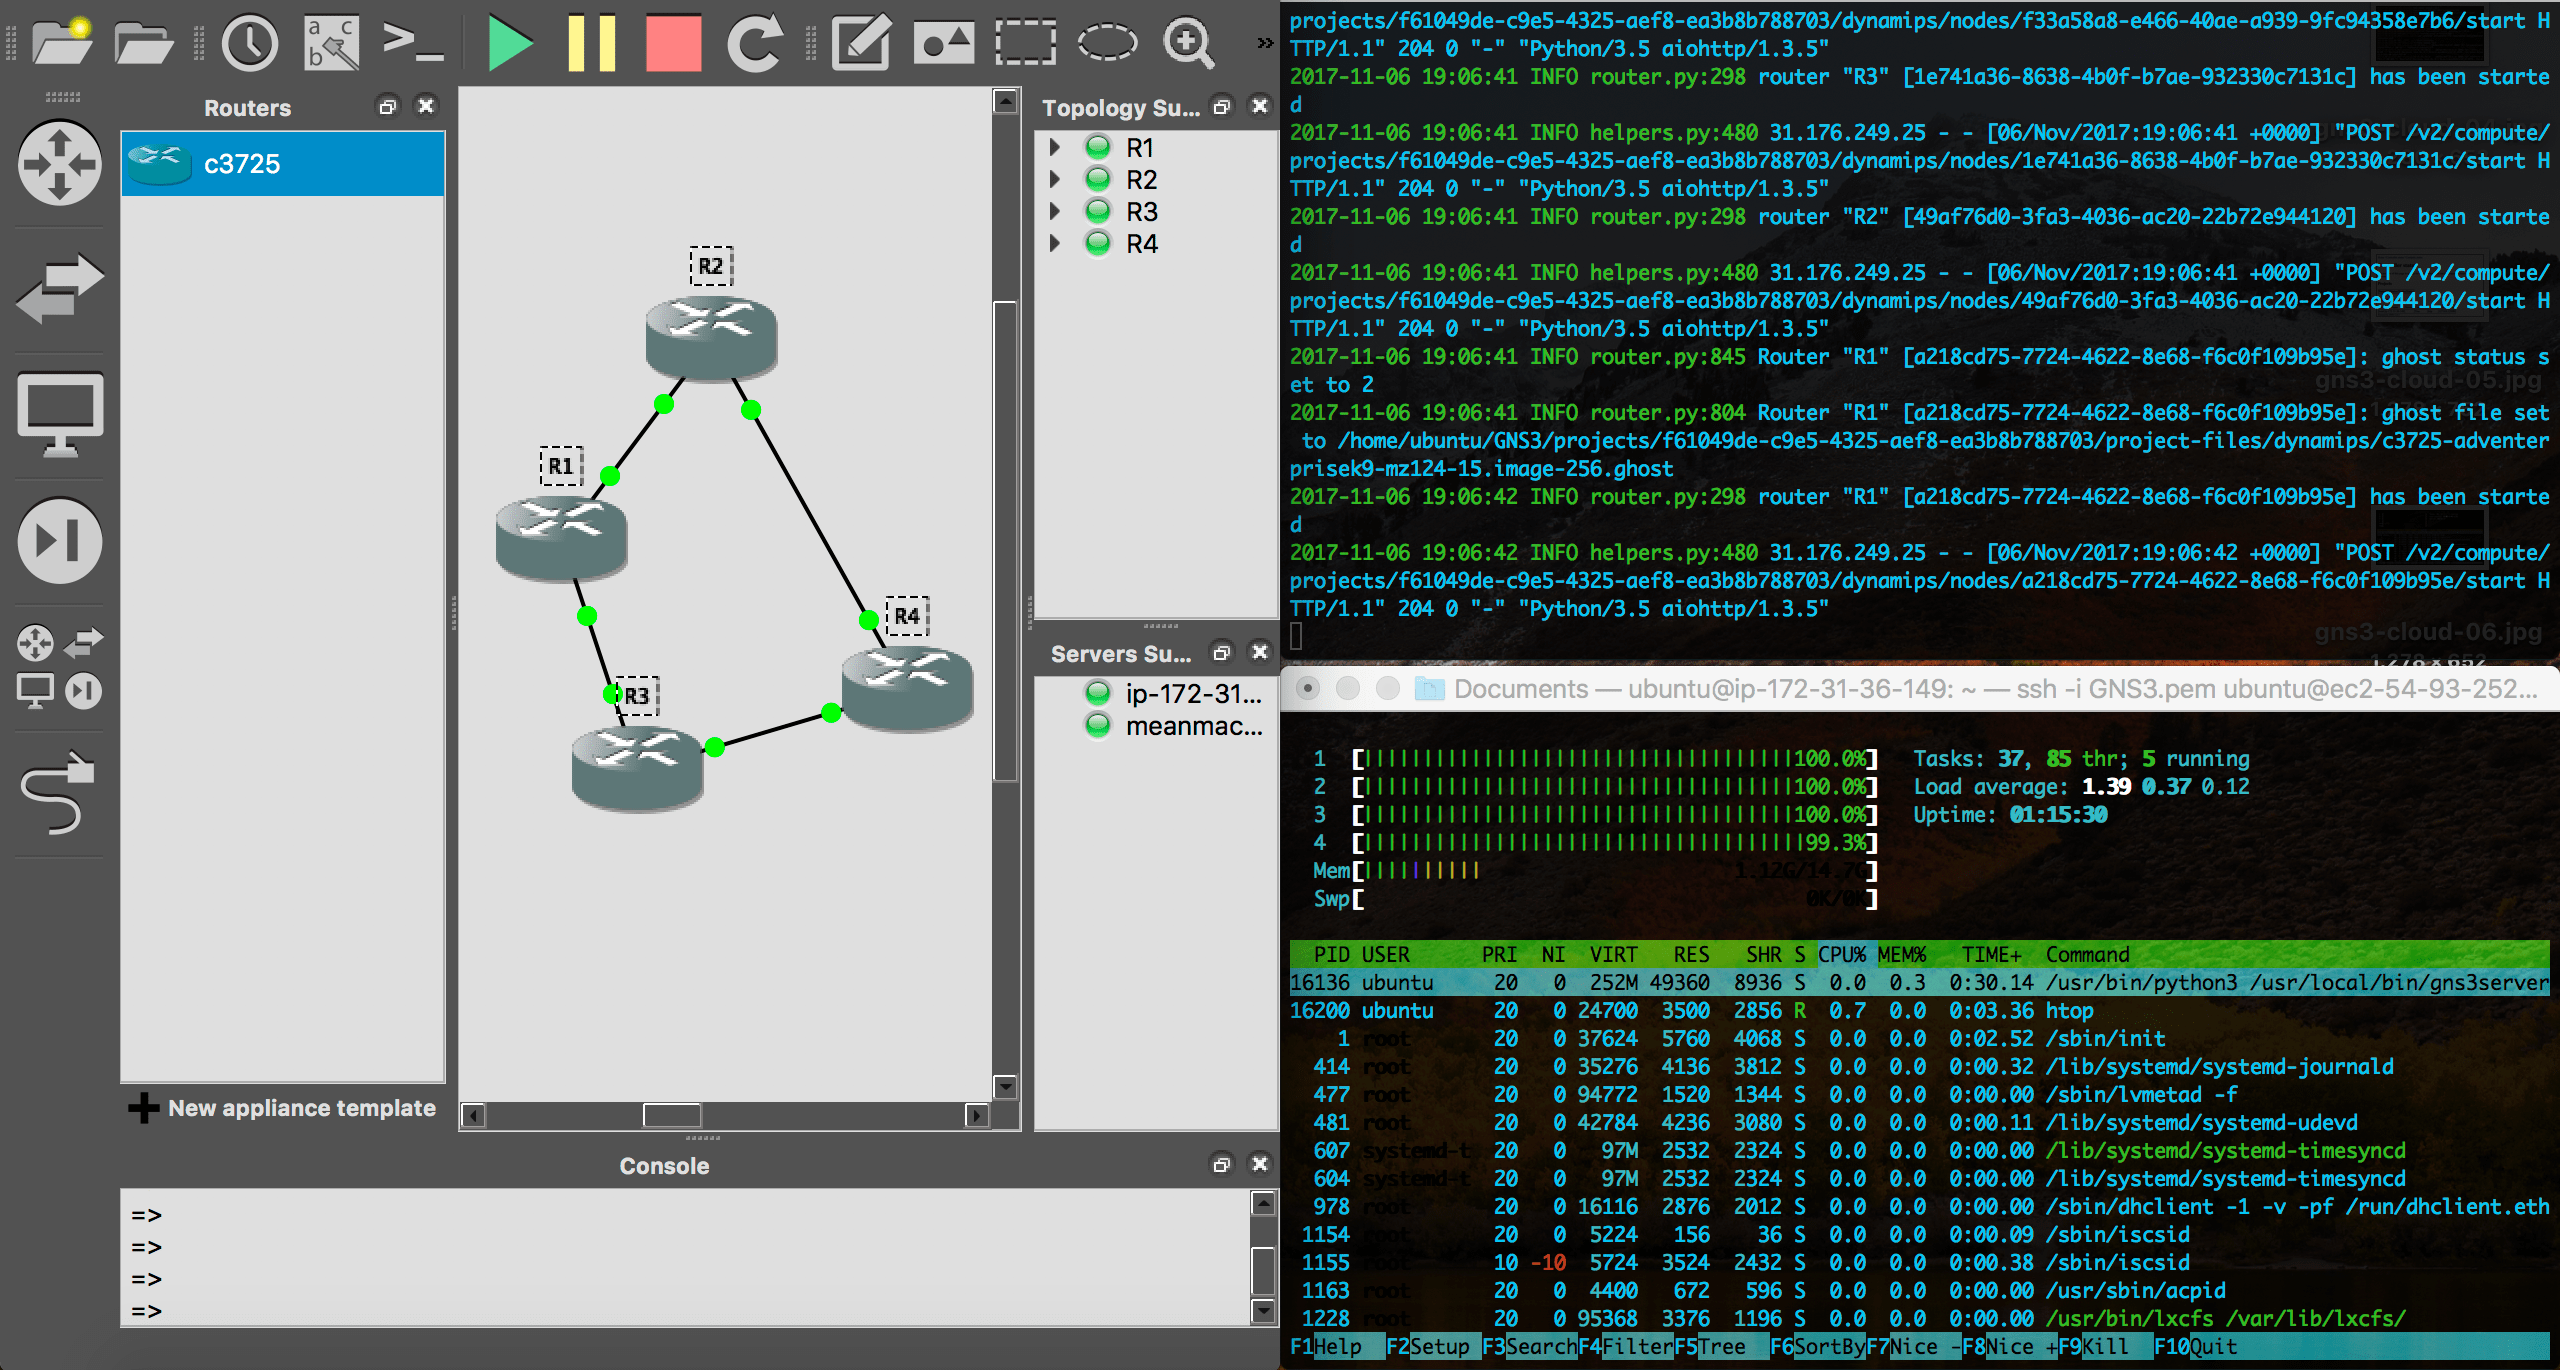
On the contrary, our client machine stays cool and silent, just as we like it.